Basic Usage
These instructions assume that you have already installed Juno. If you have not yet installed Juno, please see the Installation Instructions.
The Command Palette
To open the command panel, use Ctrl+Shift+p or go to Packages > Command Palette > Toggle. In the command pallete you can search for common commands. For example, type in "julia" and you will see the commands which relate to Julia (and the keyboard shortcuts for the commands).
Opening the Console Window
To open the console, use the command Ctrl+j then Ctrl+o, or go to Packages > Julia > Open Console. This will open a window with the title console. To use the console, simply type in a command and hit Enter. This will run the command in Julia (the first time a command is run, the connection between Julia and Atom will be installed, taking a bit more time). To clear the console, use the command Ctrl+j followed by Ctrl+c.
Using the console is similar to using the REPL. For example, to enter multi-line input, use Ctrl+Enter. Tab completion will be available with a window for selecting the desired completion (which can be scrolled through using the arrow keys). Juno also features enhanced displaying of output types. For example, types like Array show an arrow on the side. By clicking on the header for this output you will expand the array in the console. Note that floating point numbers truncate their displays as well: to see more digits, click on the number.
Inline Evaluation
You can evaluate your Julia code inline by navigating your cursor to the appropriate code and hitting Ctrl+Enter. This will run the code block that the cursor is contained in. For example, if you go to the top of a for loop, it will evaluate the whole for loop, or if it's inside of a function, it will evaluate the function (i.e. create the function). To specifically choose which code to evaluate, highlight the appropriate parts and use Ctrl+Enter. To evaluate the whole script, use Ctrl+Shift+Enter.
Cell Evaluation
Juno also supports cell-based evaluation. A cell boundary is defined by a line starting with ##, #---, or # %%. You can easily navigate cells via Alt-Up and Alt-Down, evaluate them with Alt-Enter, or evaluate a cell and move to the next one via Alt-Shift-Enter.
Common Keyboard Shortcuts
For MacOS, replace Ctrl by Cmd.
Ctrl+Shift+p- Open the command panelCtrl+Enter- Evaluate at the cursorCtrl+Shift+Enter- Evaluate the current fileCtrl+j Ctrl+o- Open the consoleCtrl+j Ctrl+c- Clear the consoleCtrl+j Ctrl+s- Start JuliaCtrl+j Ctrl+k- Kill the Julia processCtrl+j Ctrl+r- Open a REPLCtrl+j Ctrl+p- Open the Plot PaneCtrl+j Ctrl-d- Get the documentation for the symbol under the cursorCtrl+j Ctrl-g- Go to the definition of the symbol under the cursor
Adding Your Own Shortcuts
You can add custom commands and keybindings to julia, should you so wish. To create new commands, add something like the following to your init.coffee
atom.packages.onDidActivatePackage (p) ->
  if p.name is 'julia-client'
    juno = p.mainModule

    atom.commands.add '.item-views > atom-text-editor', 'julia-client:clear-console-and-run-file', ->
      juno.runtime.evaluation.evalAll()
      juno.runtime.console.reset()
and
'.platform-win32 .item-views > atom-text-editor[data-grammar="source julia"]':
  'ctrl-shift-alt-enter': 'julia-client:clear-console-and-run-file'
to your keymap.cson (you can get to both files via Settings > Open Config Folder). It's also possible to add new keybindings for existing commands, such as f5 for julia-client:run-file.
Note that you will need to muck around with julia-client's internals for defining custom commands, so your code might break on new releases. You'll also need to figure out which functions you can use for what – julia-client's commands will probably be helpful for that.
Using the Plot Pane
Use of the plot pane will be automatic by plotting packages which support the interface. The following describes the package interactions in more depth.
The Plots.jl Ecosystem
Plots.jl supports usage of the plot pane with compatible backends. The backends which are compatible are:
PlotlyJS
PyPlot
GR
The plot command will plot to the plot pane by default. To open up a non-plot pane window, use the gui() command. For example,
using Plots
pyplot() # Choose a backend
plot(rand(4,4)) # This will plot to the plot pane
gui() # This will open up a separate interactive GUI window
Gadfly
Gadfly also will use the plot pane.
Using the Workspace Pane
A workspace pane is available for showing the variables declared in the workspace. To open the pane, go to Packages > Julia > Open Workspace.
Enhanced Rendering
Juno's enhanced rendering system makes it easy to view complex types and large arrays by being able to fold the values. This is naturally done in the Juno console, but is not shown for standard prints. In order to print using this special rendering, use the render function from Juno.jl. Inside of a package if you imported Juno, then the render function will be available. render will also be available at the REPL.
For interactive usage inside of a module which does not import Main (i.e. during package development), note that this function is automatically imported to Main upon starting the Julia process, and thus can be accessed via Main.Juno.render. For example, one can debug by adding print statements like:
Main.Juno.render(a)and a will use the special Juno console rendering, even if the package does not require/use Juno.jl.
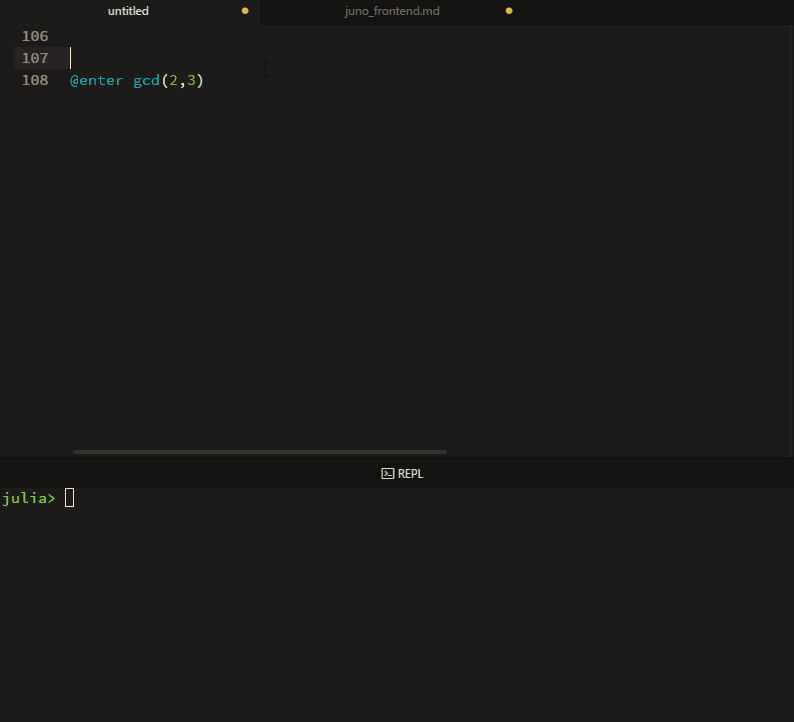
Using the Debugger (experimental)
Juno features an interactive debugger based on ASTInterpreter2.jl. The easiest way to access it to use the Juno.@enter macro on a function call:
While you are stepping through a function, it's local variables will be displayed in the workspace and you can access them in the console.